cherry jelly recipe
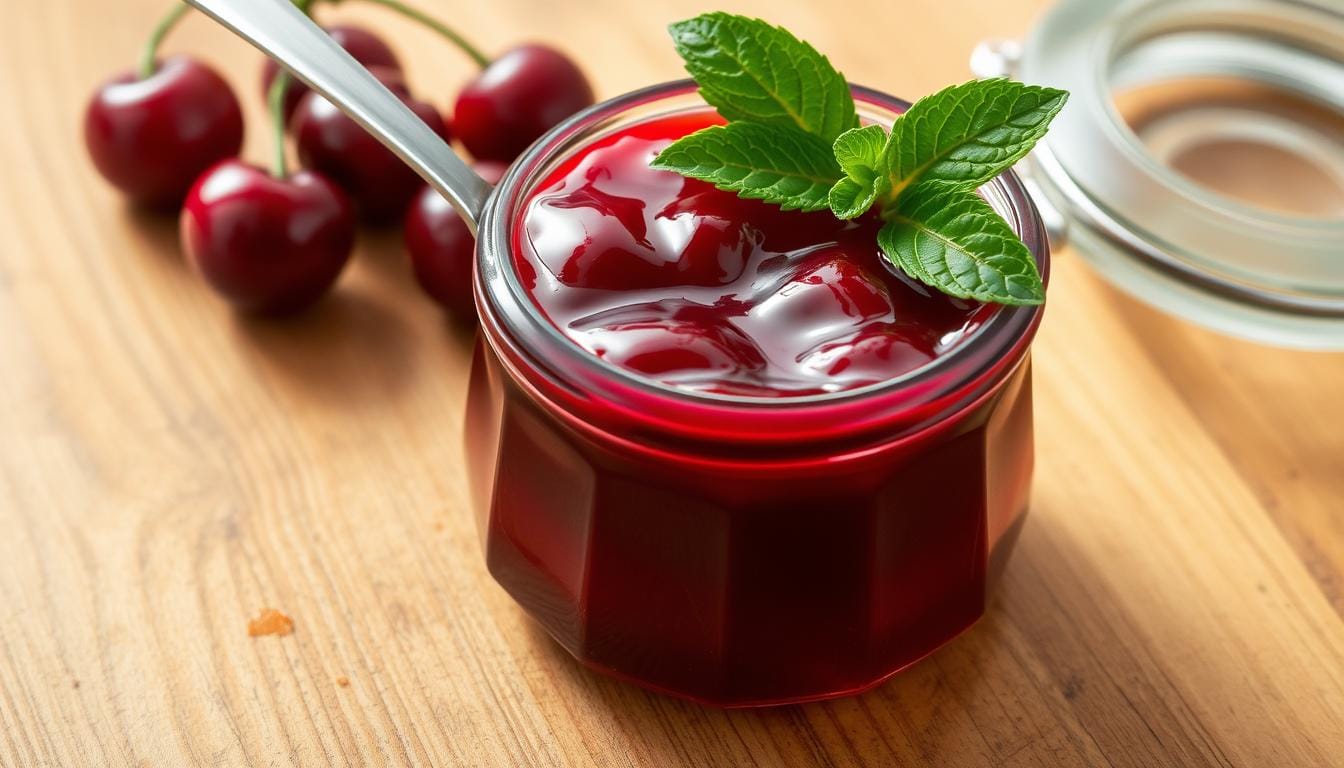
There’s something special about making your own fruit spread at home. The process is simple, and the results are incredibly rewarding. Whether you’re a seasoned canner or just starting out, this recipe is designed to be straightforward and adaptable.
You can use any type of cherry—tart, sweet, or even black—to create a spread that suits your taste. The best part? You don’t need to pit the cherries, which saves time and keeps the flavor authentic. With just a few ingredients and minimal effort, you’ll have a versatile topping for breakfast, snacks, or even gifts.
This guide will walk you through the steps, from juicing the fruit to preserving it for long-term storage. You’ll also find expert tips to ensure every batch is packed with flavor. Whether you choose to can it or store it in the fridge, this recipe is perfect for anyone looking to enjoy a homemade treat.
Table of Contents
Ingredients and Essential Equipment
Creating a homemade spread starts with the right ingredients and tools. Quality components and proper equipment ensure your final product is both delicious and consistent. Let’s break down what you’ll need to get started.
Gathering Your Ingredients
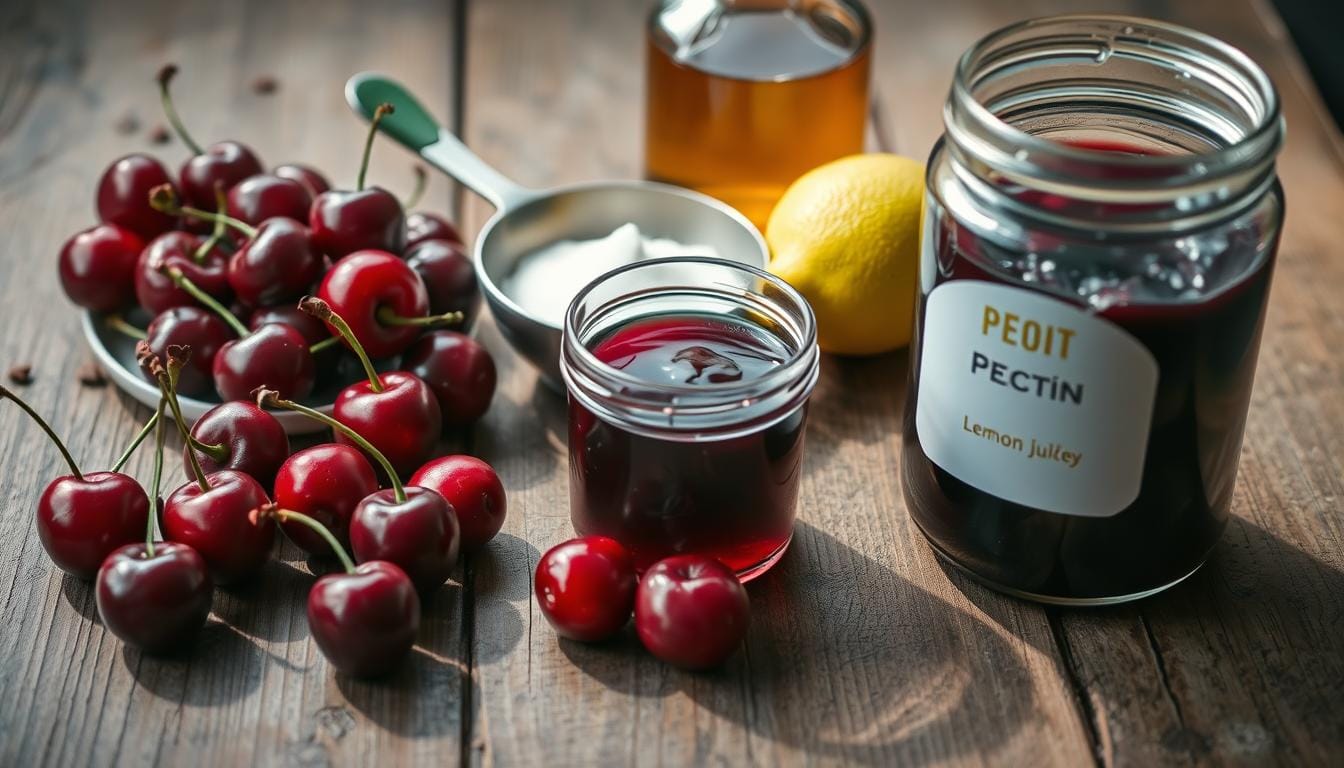
To make this spread, you’ll need a few key items. Start with fresh fruit—tart varieties work best for a balanced flavor. Here’s a detailed list:
- 4 cups of juice (from about 3 lbs of tart fruit)
- 5 cups of sugar for sweetness and texture
- 1.75 oz of pectin to help it set
- Optional: 1/2 teaspoon of butter to reduce foaming
Each ingredient plays a role. The juice provides the base flavor, while sugar and pectin ensure the right consistency. Pre-measure everything to streamline the process.

cherry jelly recipe
Tools and Equipment You’ll Need
Having the right tools makes the process smoother. Here’s what to prepare:
- Jelly bag or cheesecloth for straining the juice
- Large saucepan for boiling the mixture
- Clean jars and lids for storage
- Water bath canner for sealing jars
Sanitize your jars and lids before use to ensure safety. A damp cheesecloth in the strainer helps achieve clearer juice. Accurate measurements and proper equipment are key to success.
Step-by-Step Instructions for Cherry Jelly Recipe
Transform fresh fruit into a delightful spread with these simple steps. Follow along to create a homemade treat that’s both flavorful and versatile. Let’s dive into the process.
Preparing and Juicing the Cherries
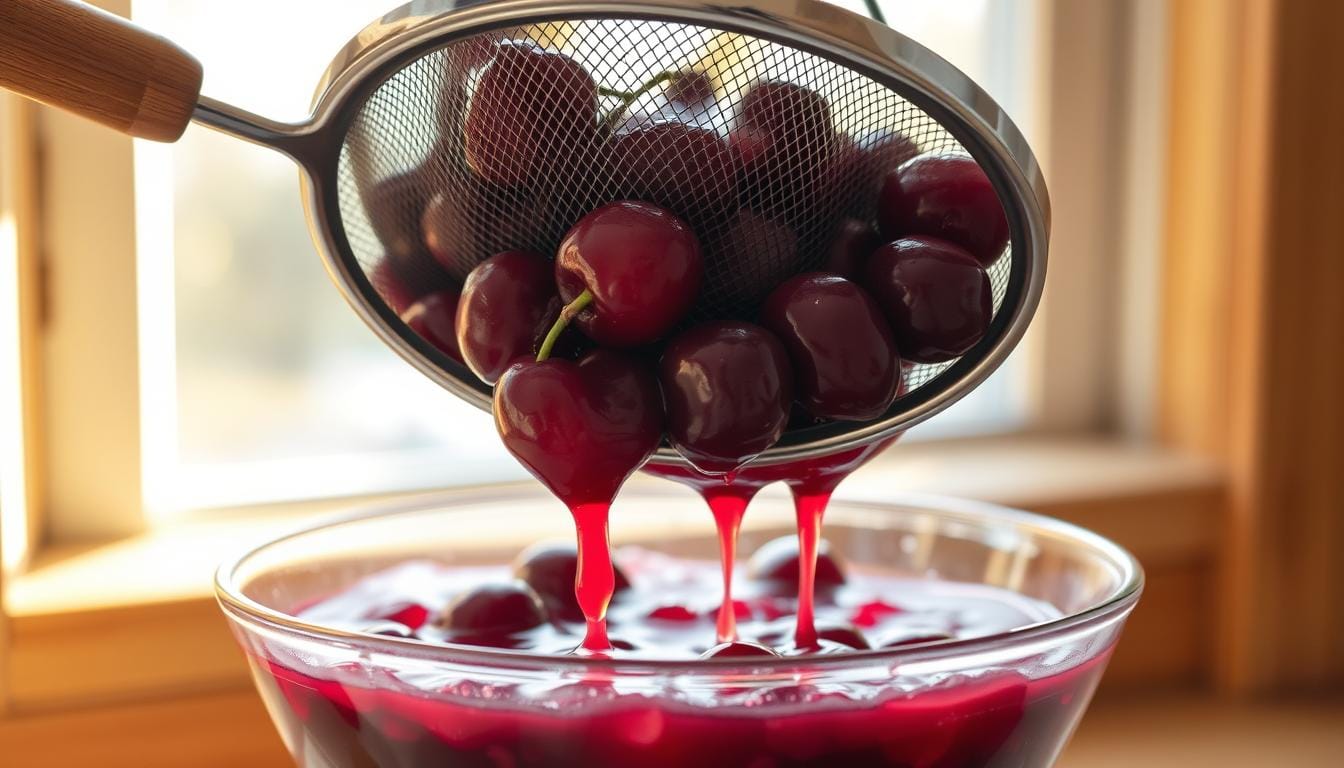
Start by selecting fresh fruit and washing it thoroughly. Place the fruit in a large saucepan with a cup of water. Heat the mixture over medium heat until the fruit bursts open, releasing its juices. This usually takes about 10 minutes.
Next, strain the cooked fruit using a jelly bag or multiple layers of cheesecloth. This step ensures you get a clear juice, free from pulp or seeds. Let the juice drip naturally for the best results.

cherry jelly recipe
Mixing, Boiling, and Setting Your Jelly
Once you have the juice, pour it into a clean saucepan. Add pectin and bring the mixture to a full boil. Stir continuously to prevent burning. After it reaches a rolling boil, add sugar gradually and boil for one more minute.
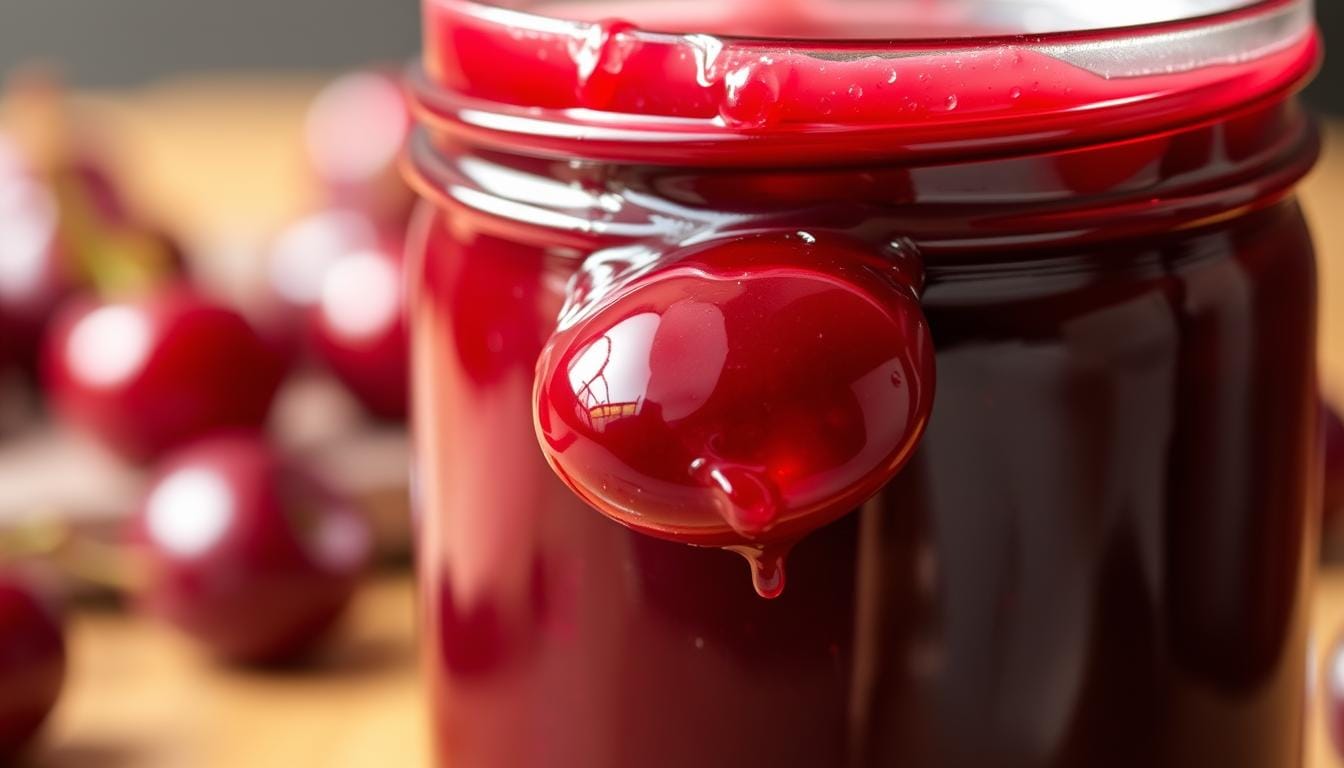
Test the consistency by dipping a metal spoon into the mixture. If it leaves a distinct drip pattern at the top, it’s ready. Pour the hot mixture into sterilized jars, leaving a quarter-inch of space at the top. Seal the jars with lids and process them in a water bath for five minutes.
Let the jars cool at room temperature for 24 hours. Check the seals before storing. Properly sealed jars can last up to a year at room temperature. Once opened, store in the refrigerator for up to six months.
Expert Tips for Juicing and Straining Cherries
Extracting clear juice is the foundation of a perfect homemade spread. Whether you’re using a steam juicer or stovetop method, the goal is to maximize flavor while keeping the juice free of pulp. Here’s how to achieve the best results.
Steam Juicer Methods for Maximum Juice
A steam juicer is a game-changer for extracting clear juice efficiently. It uses steam to break down the fruit, releasing its natural flavors without overcooking. Start by placing the fruit in the top basket and adding water to the bottom chamber. Heat the unit until steam forms, then let it work for about 30 minutes.
This method preserves the bright red color of the juice, essential for a visually appealing product. Plus, it’s hands-off, allowing you to focus on other steps. For best results, use a ratio of 1 cup of water to 1 pound of fruit.

Stovetop Juicing Techniques and Cheesecloth Alternatives
If you don’t have a steam juicer, the stovetop method works well too. Cook the fruit with a cup of water over medium heat until it softens. Strain the mixture through a jelly bag or multiple layers of cheesecloth. Avoid squeezing too hard to keep the juice clear.
For those without a jelly bag, damp cheesecloth is a great alternative. Use at least three layers to reduce pulp inclusion. Let the juice drip naturally for the clearest results. This step ensures your final product has a smooth texture.
| Method | Advantages | Considerations |
|---|---|---|
| Steam Juicer | Hands-off, clear juice, preserves color | Requires specific equipment |
| Stovetop | Accessible, no special tools needed | Requires careful straining |
Proper handling of the jars is also crucial. Clean the rims with a damp towel before placing the lids. This ensures a tight seal during the water bath process. Follow these steps, and you’ll save time while achieving a better-textured spread.
Creative Variations and Serving Ideas
Adding a personal touch to your homemade spread can make it truly unique. Whether you’re looking to enhance the flavor or explore new serving ideas, there are countless ways to customize your creation. Let’s dive into some creative variations and inspiring suggestions.
Flavor Enhancements and Unique Combinations
Experimenting with flavors can take your spread to the next level. Try mixing tart fruit with raspberries or serviceberries for a layered taste. Adding almond extract or vanilla beans can also boost the natural flavor, giving it a rich and aromatic twist.
For a diet-friendly version, consider using low-sugar pectin. This allows you to reduce the amount of sugar without compromising the texture. Each tweak lets you create a spread that suits your preferences while maintaining the integrity of the original process.
Serving Suggestions for Snacks, Gifts, and More
Your homemade spread is incredibly versatile. Enjoy it on toast, English muffins, or even as a glaze for scones. For a cozy treat, stir a spoonful into hot tea or use it as a topping for yogurt.
When it comes to gifting, get creative with packaging. Use decorative jars and add personalized labels or ribbons. These thoughtful touches make your homemade spread a memorable present for friends and family.
Whether you’re serving it at breakfast, using it in desserts, or pairing it with savory dishes, the possibilities are endless. Don’t be afraid to experiment and share your unique variations with others.
Conclusion
Making your own fruit spread at home is both simple and rewarding. From selecting fresh fruit to boiling the mixture, each step is designed for ease. Precise measurements of sugar, pectin, and water ensure the perfect consistency every time.
Proper storage, whether in a jar or the fridge, keeps your creation fresh for months. Experiment with different fruit types to find your favorite flavor. The process is quick, with boiling taking just a minute to set the spread.
Enjoy the art of preserving and share your results with others. This homemade treat is a versatile addition to any meal or gift. Try it today and experience the joy of creating something truly special.
