dill pickle spears
There’s something special about homemade pickles. The crisp texture, the tangy flavor, and the satisfaction of creating something from scratch make them a cut above store-bought options. If you’ve ever wondered how to achieve that perfect balance of taste and crunch, this recipe is for you.
This guide uses fresh cucumbers and high-quality dill to deliver the signature flavor you love. Adapted from the trusted Ball Canning guide, it ensures reliability and tradition in every step. You’ll also learn why choosing the right jar and mastering the pre-soak process are essential for crisp, delicious results.
Whether you’re new to canning or a seasoned pro, this recipe is designed to be simple and rewarding. Follow along, and you’ll soon have a jar of tangy, homestyle pickles ready to enjoy.
Table of Contents
Gather Your Ingredients and Tools
Crafting the perfect homemade pickles starts with gathering the right ingredients and tools. Quality matters here, so choose fresh produce and reliable equipment for the best results. Let’s break down what you’ll need.
Essential Cucumbers, Dill, and Pickling Spices
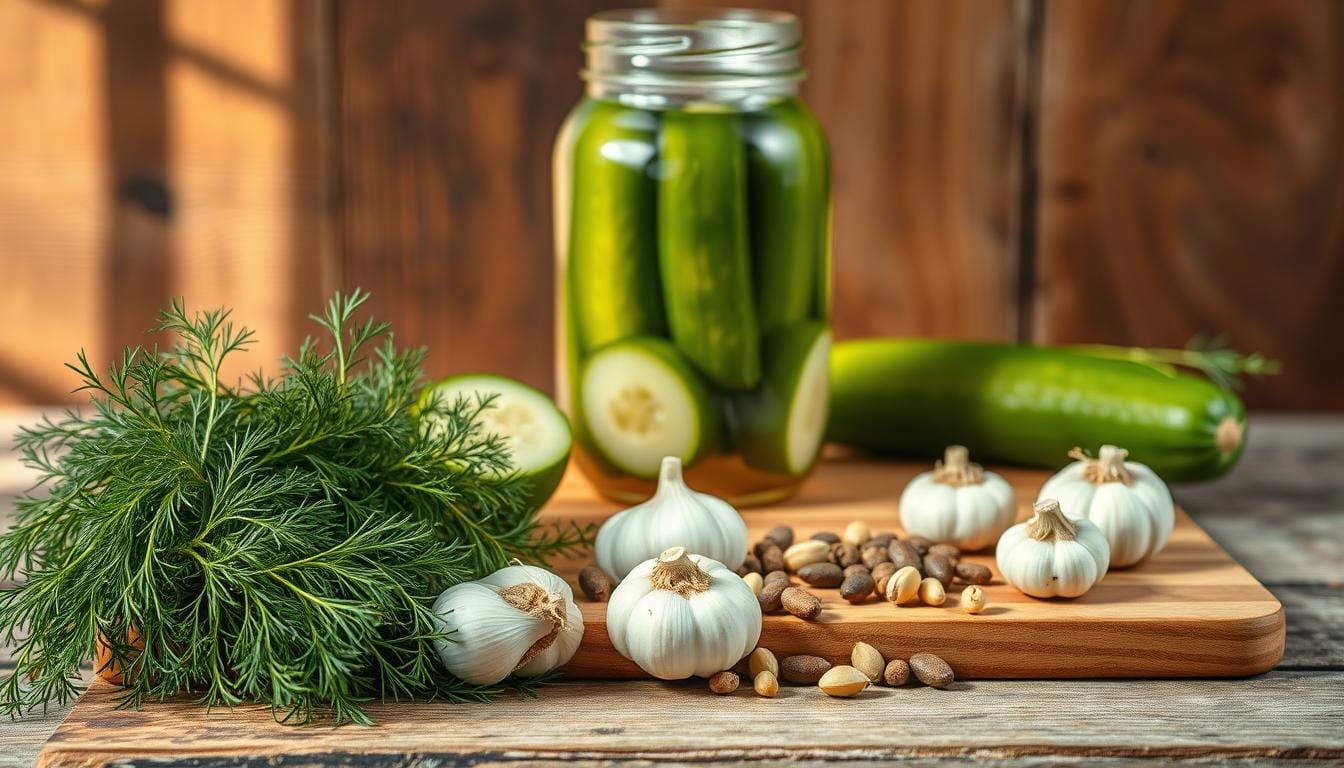
Start with 3 to 5-inch pickling cucumbers. These are firm and ideal for preserving. You’ll also need fresh dill sprigs or dried dill seed for that signature flavor. A blend of pickling spices, including mustard seed and black peppercorns, adds depth to the brine.
Here’s a detailed list of ingredients:
| Ingredient | Measurement |
|---|---|
| Pickling Cucumbers | 6-8 (3 to 5-inch) |
| Fresh Dill Sprigs | 8-12 fronds |
| Mustard Seed | 1 teaspoon |
| White Vinegar | 1/2 cup |
| Water | 4 cups |
| Salt | 1 tablespoon |

dill pickle spears
Equipment: Jars, Canning Supplies, and More
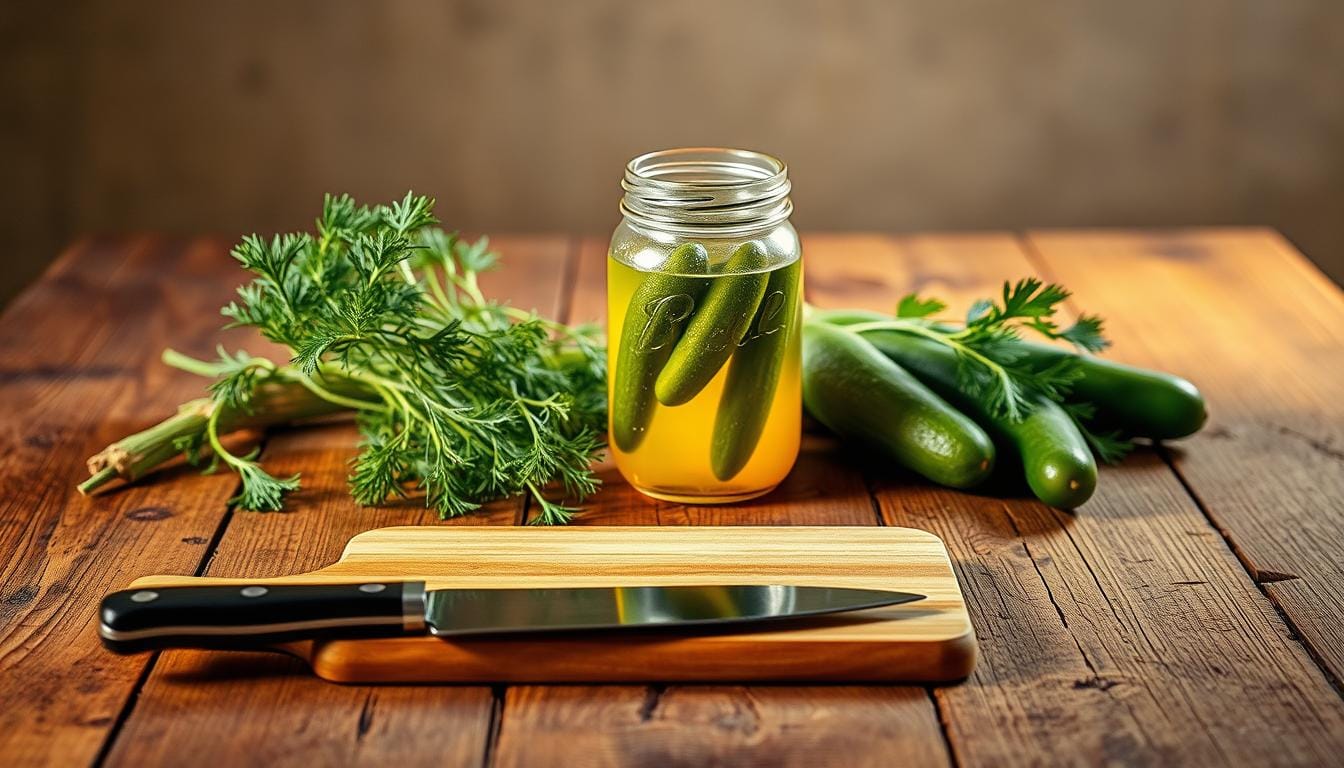
You’ll need wide-mouth pint jars, like Ball Mason jars, for easy packing and sealing. A canning kit with a jar lifter, funnel, and lid lifter ensures safety and efficiency. A large pot for boiling water and a timer for precise processing are also essential.
Here’s a quick checklist of equipment:
- Wide-mouth pint jars (4 jars)
- Canning kit (jar lifter, funnel, lid lifter)
- Large pot for boiling water
- Timer
Remember, precision is key. Measure ingredients carefully, and follow timing instructions for the best results. Sourcing high-quality ingredients locally can also enhance the flavor of your pickles.
Preparation and Soaking Process
The key to achieving that perfect crunch in your homemade creation lies in the preparation process. Properly preparing your cucumbers ensures they stay firm and flavorful throughout the preserving process. Let’s dive into the essential steps.
Washing, Trimming, and Cutting Cucumbers
Start by thoroughly washing your cucumbers under cold water. This removes dirt and debris, ensuring food safety. Next, trim the blossom end of each cucumber. This step is crucial because the blossom end contains enzymes that can soften your final product.
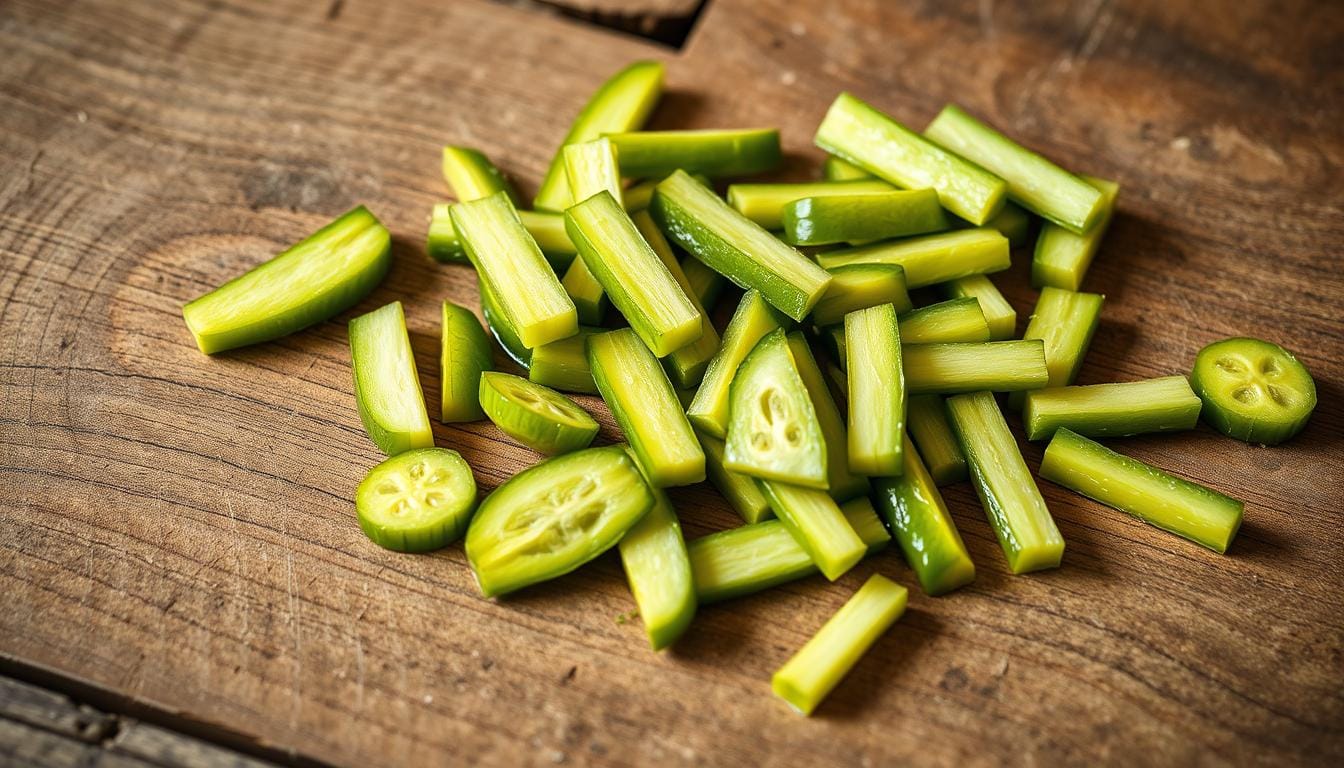
After trimming, cut the cucumbers lengthwise into quarters or spears. This size fits perfectly into wide-mouth jars, making them ideal for preserving. Precision here ensures even soaking and consistent results.

dill pickle spears
The Importance of a 24-Hour Salt Water Soak
Once your cucumbers are prepped, it’s time for the salt water soak. Dissolve 1 tablespoon of salt in 4 cups of water to create the solution. Submerge the cucumber spears in this mix and let them soak for 24 hours. This step locks in firmness and enhances flavor.
After soaking, gently pat the cucumbers dry. This ensures they absorb the brine evenly during the next stage. The salt water soak is a game-changer for achieving that signature crisp texture.
Here’s a quick reference table for the soaking process:
| Step | Details |
|---|---|
| Salt Measurement | 1 tablespoon |
| Water Measurement | 4 cups |
| Soaking Time | 24 hours |
Attention to detail during this stage ensures your final product is both crisp and full of traditional flavor. Whether you’re using a canner or opting for refrigeration, this preparation process sets the foundation for success.
Mastering the Art of Perfect Dill Pickle Spears
Perfecting the art of preserving cucumbers requires attention to detail and the right techniques. From packing the jars to preparing the brine, each step plays a crucial role in achieving the ideal flavor and texture. Whether you choose refrigeration or canning, understanding the process ensures success.
Packing the Jars and Preparing the Pickling Brine
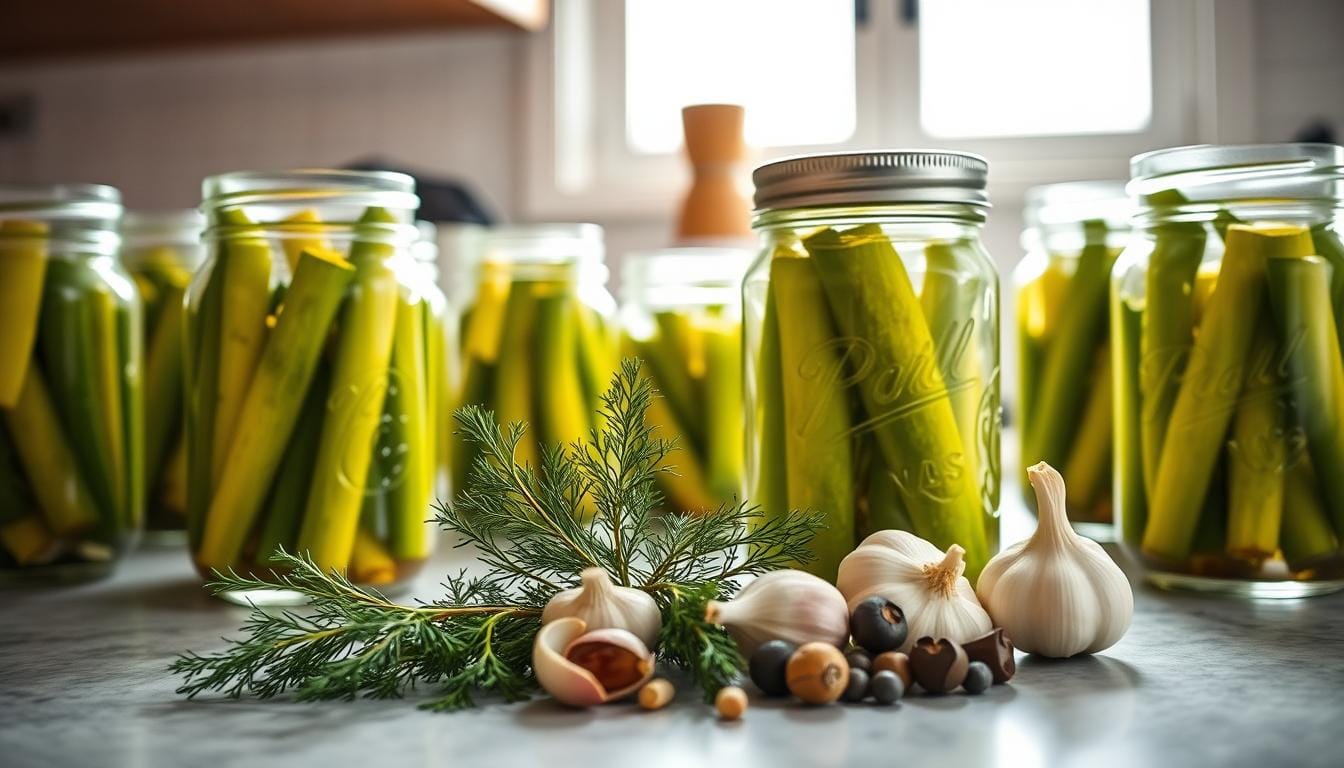
Start by firmly packing the prepared cucumber spears into wide-mouth pint jars. Ensure even distribution and leave a ½ inch headspace at the top. This prevents overflow and ensures safety during processing. Add fresh dill sprigs, garlic cloves, and pickling spices for enhanced aroma and flavor.

dill pickle spears
Next, prepare the brine by combining water, white vinegar, salt, sugar, and a tablespoon of pickling spice. Heat the mixture until it reaches a boil, stirring occasionally. The heat activates the flavors while keeping the cucumbers crisp. Pour the hot brine over the packed jars, maintaining the ½ inch headspace.
Refrigeration vs. Canning: Methods and Adjustments
Choosing between refrigeration and canning depends on your preference for shelf life and texture. Refrigeration is simpler and requires waiting a few days for the cucumbers to reach peak flavor. This method is ideal for short-term storage, keeping the cucumbers crisp for up to a month.
Canning, on the other hand, involves processing the jars in a boiling water bath for about 10 minutes. This method extends shelf life to up to a year but requires precise timing to avoid overcooking. Trimming the blossom end and using exact inch measurements ensures optimal results.
Mastering these steps guarantees perfectly preserved cucumbers every time. Follow the instructions carefully, and you’ll enjoy the tangy, crisp results of your efforts.
Conclusion
Creating your own tangy cucumber treats at home is a rewarding experience. From washing and slicing to the final seal, each step ensures crisp, flavorful results. Properly checking the lid after processing guarantees safety and longevity.
Using trusted Ball Mason jars and following the process precisely ensures success. Whether you choose refrigeration or canning, the acidity and seal are key to preserving freshness. Store sealed jars for up to 12 months for optimal flavor.
Experiment with subtle adjustments to suit your taste while maintaining safety. Embrace the tradition of homemade preservation and enjoy the satisfaction of crafting your own tangy treats.
