Every home cook knows a perfect gravy can make a meal special. Your kitchen is about to become a gravy paradise. This simple recipe takes just 5 minutes to make.
Imagine a Sunday roast with a smooth homemade sauce that tastes like a pro’s. This recipe is your secret to making a top-notch sauce without hours of cooking.
Whether you’re a busy parent, a weekend chef, or someone who loves quick recipes, this homemade sauce is for you. It has only 5 ingredients and takes little time. You’ll have a rich, tasty sauce that everyone will love.
Get ready to make your meals better with this easy and delicious recipe. Your taste buds (and dinner guests) will be grateful!
Table of Contents
Why Choose Homemade Knorr Gravy
Making your own gravy at home makes cooking exciting. It’s perfect for busy people who want tasty meals fast. You don’t have to sacrifice flavor or quality.
Time-Saving Culinary Magic
Your homemade sauce is ready in just 5 minutes. It’s great for quick weeknight dinners. You’ll cook less and enjoy more time with your family.
- Prep time: 5 minutes
- Serves: Up to 12 people
- Total gravy yield: 2 cups
Cost-Effective Cooking Strategy
Homemade sauce is not just tasty. It’s also a smart way to save money. You control the ingredients and quality, unlike store-bought mixes.
Superior Taste Comparison
Creating your own sauce lets you customize flavors. Add sautéed onions or fresh herbs for a restaurant-quality taste.
“Transform ordinary dishes into extraordinary culinary experiences with homemade gravy”
Your homemade gravy mix lasts up to 6 months. This gives you flexibility for meal planning and spontaneous cooking.
Essential Ingredients for Perfect Knorr Gravy Recipe

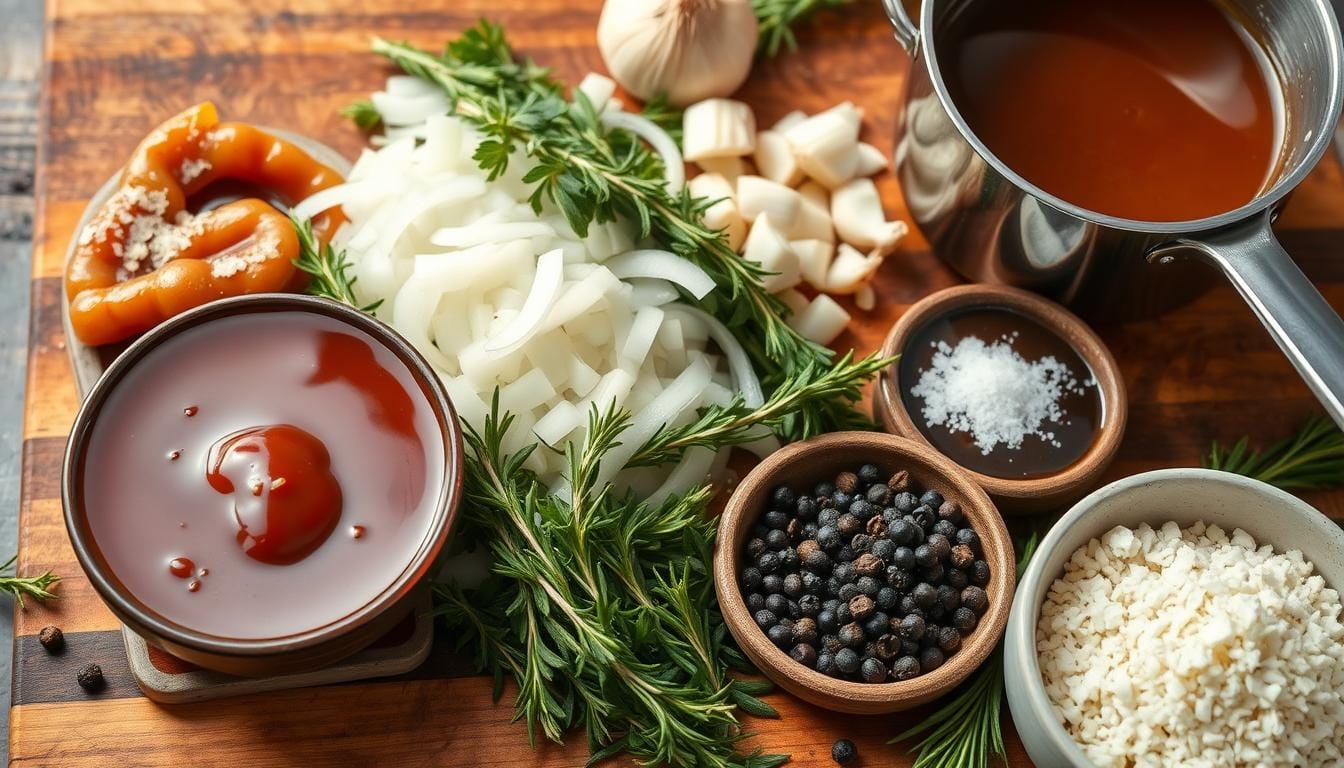
Making a quick sauce from scratch is easy. You just need a few key ingredients to make your meal special. These simple pantry staples add amazing flavor to your homemade sauce.
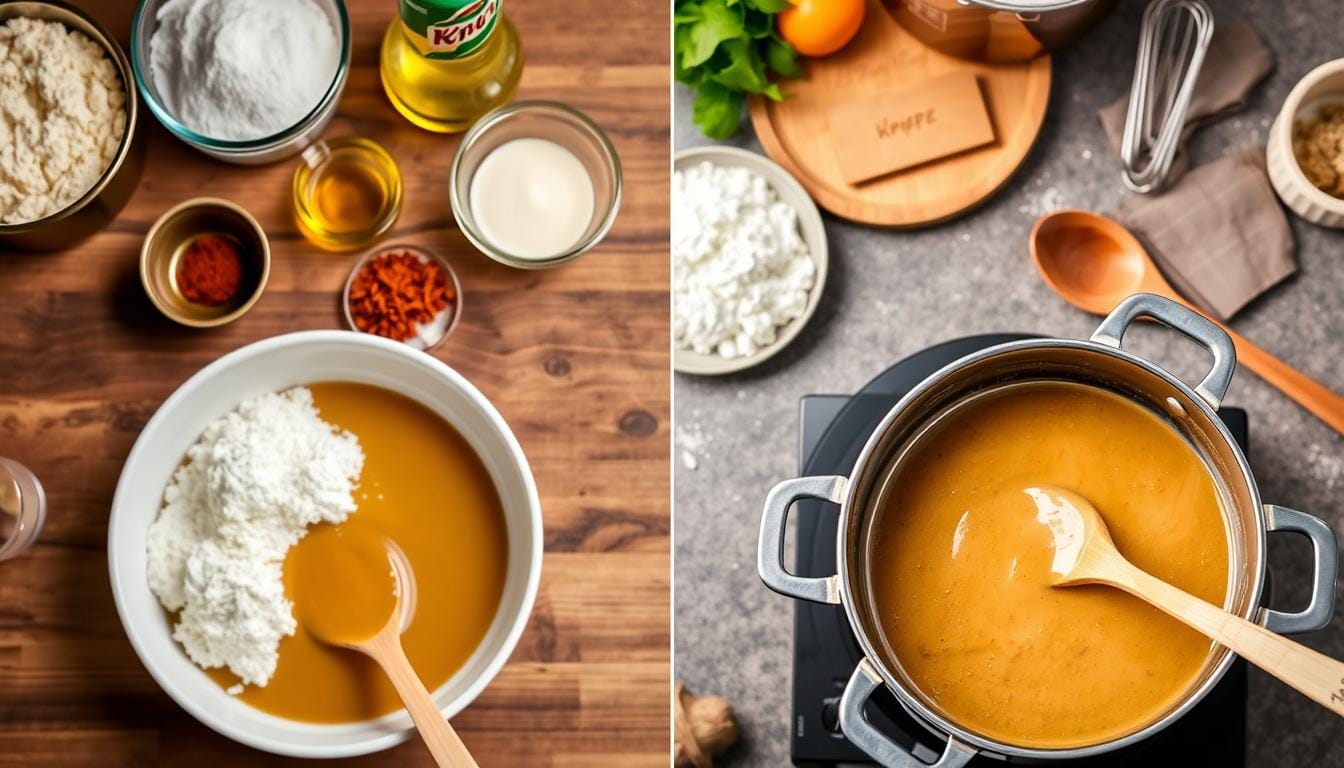
- Butter: The foundation of your roux, unsalted butter helps create a smooth base
- All-Purpose Flour: Essential for thickening and achieving that perfect gravy consistency
- Knorr bouillon powder or granules
- Seasonings: Onion powder, salt, and pepper
Want to make your quick Knorr gravy even better? Try these flavor-boosting additions:
- Fresh herbs (thyme, rosemary)
- Roasted garlic (about 35 minutes at 350°F)
- A splash of heavy cream
- Umami-rich ingredients like mushrooms or caramelized onions
“The secret to great gravy is layering flavors and using quality ingredients”
Pro tip: Add a teaspoon of maple syrup or a few drops of hot sauce to your Knorr gravy. It will give your dish a unique taste that will wow your dinner guests.
Required Kitchen Tools and Equipment
Making the perfect recipe is easy. You don’t need a fancy kitchen. Most people already have what they need to make a tasty sauce fast.
Basic Utensils for Gravy Preparation
To make the best Knorr gravy, you’ll need a few important tools:
- Glass measuring cup for accurate liquid measurements
- 2-quart saucepan for smooth cooking
- Dry measuring cups for precise ingredient portions
- Whisk for smooth mixing
- Wooden spoon for stirring
Optional Equipment for Enhanced Gravy Quality
These extra tools can make your gravy even better:
- Immersion blender for extra smooth texture
- Fine-mesh strainer to remove any potential lumps
- Digital kitchen scale for precise measurements
Here’s a quick guide to the essential tools for your best Knorr gravy recipe:
| Tool Category | Recommended Items | Purpose |
|---|---|---|
| Measuring Tools | Glass measuring cup, dry measuring cups | Ensure precise ingredient proportions |
| Cooking Vessel | 2-quart saucepan | Provide consistent heat distribution |
| Mixing Tools | Whisk, wooden spoon | Create smooth, lump-free gravy |
“The right tools make all the difference in creating a restaurant-quality gravy at home.”
Even if you don’t have every tool, you can still make a great Knorr gravy. The recipe works well with basic kitchen items you probably already have.
Step-by-Step Instructions for Basic Knorr Gravy
Making authentic gravy is all about precision and simple steps. With a few easy techniques, your meal can go from ordinary to amazing.

- Remove excess fat from your roasting tray
- Add boiling water to the tray
- Crumble a Knorr Stock Cube into the liquid
- Allow the mixture to simmer gently
There are two ways to thicken your Knorr gravy:
- Flour method: Mix flour with remaining meat juices
- Cornflour method: Gradually add cornflour for a smooth consistency
“The secret to perfect gravy is patience and careful stirring” – Culinary Expert
Serving size recommendations:
| Serving Size | Water Amount | Stock Cube Type |
|---|---|---|
| 3-4 people | 500ml (half-liter) | Knorr Chicken or Rich Beef Stock Pot |
Pro tip: Add stock to your roasting tin slowly on medium heat. Stir constantly until it’s the right thickness. This method makes your Knorr gravy smooth and rich every time.
Tips for Achieving Smooth and Lump-Free Gravy
Making perfect homemade gravy can be a challenge. But, with the right techniques, you’ll get a silky-smooth sauce every time. The secret to a great recipe is knowing the common mistakes and how to avoid them.
Common Mistakes to Avoid
To prevent lumps in your homemade sauce, pay close attention to your technique. Here are the most common mistakes home cooks make:
- Adding liquid too quickly
- Failing to whisk continuously
- Using cold liquid with hot roux
- Cooking at high temperatures
Professional Techniques for Smooth Gravy
Professional chefs use these methods to make a flawless homemade Knorr gravy:
- Gradual Liquid Addition: Pour broth slowly while whisking constantly
- Maintain low, steady heat around 140-150°F
- Use a wire whisk for maximum smoothness
- Strain gravy if small lumps develop
Troubleshooting Guide
“The secret to great gravy is patience and technique.” – Professional Chef
If you get lumps in your Knorr gravy recipe, don’t worry. Here are quick fixes:
- Use a immersion blender to break down lumps
- Pass gravy through a fine-mesh strainer
- Restart with a fresh roux if severely lumpy
Remember, the more you practice, the better you’ll get at making homemade Knorr gravy. Each try will help you improve your skills and confidence in the kitchen.
Flavor Variations and Enhancements

Turn your easy Knorr gravy into something amazing with creative additions! By trying out simple yet powerful ingredients, you can make your gravy a true masterpiece.
Want to take your gravy to the next level? Here are some exciting ways to do it:
- Herb Infusions: Add fresh rosemary, thyme, or sage for a strong flavor
- Umami Boosters: Mix in sautéed mushrooms or caramelized onions
- Spice Blends: Add smoked paprika or cracked black pepper
- Liquid Enhancers: Add a splash of red wine or brandy for depth
Professional chefs say the key is to build layers of flavor. Start by cooking garlic and shallots in butter before making your roux. This makes your gravy taste like it’s from a fancy restaurant.
“The secret to an amazing gravy is all in the preparation and unexpected ingredients!” – Culinary Expert
Looking for meat-specific gravies? Here are some great options:
- Beef Gravy: Add worcestershire sauce and red wine
- Chicken Gravy: Use fresh thyme and white wine
- Vegetarian Gravy: Try mushroom broth for a rich flavor
Your delicious Knorr gravy is a blank canvas for creativity. Don’t be shy to try new things and make each batch special!
Storage and Reheating Guidelines
Making delicious knorr gravy from scratch is just the start. Storing and reheating it right is key to keeping its flavor and texture. Learning how to store and reheat your homemade gravy ensures you can enjoy it for days.
Refrigeration Best Practices
Here are the top tips for storing your homemade gravy:
- Transfer gravy to an airtight container
- Cool the gravy completely before refrigerating
- Store in the refrigerator for up to 5 days
Freezing Your Gravy
Freezing is a great way to keep your knorr gravy fresh longer. Here’s a detailed guide on freezing:
| Storage Method | Maximum Storage Time | Recommended Container |
|---|---|---|
| Refrigerator Storage | 3-5 days | Airtight Glass/Plastic Container |
| Freezer Storage | 2 months | Freezer-Safe Container or Bags |
Reheating Instructions
To warm up your quick knorr gravy, follow these steps:
- Transfer gravy to a saucepan
- Heat over medium-low temperature
- Stir continuously to prevent scorching
- Add beef broth if gravy seems too thick
“Patience is key when reheating gravy – slow and steady preserves the flavor!”
Pro tip: Always check the consistency and taste before serving. A whisk can help restore smoothness if the gravy has separated during storage.
Perfect Pairings: What to Serve with Knorr Gravy Recipe
Discovering the best Knorr gravy recipe opens up a world of culinary possibilities. Your homemade gravy can turn ordinary meals into extraordinary dining experiences. This rich, silky sauce is a kitchen staple for home cooks wanting to elevate their dishes.
Here are some delicious pairings to complement your best Knorr gravy recipe:
- Classic Comfort Foods
- Creamy mashed potatoes
- Crispy roasted chicken
- Tender pot roast
- Homemade meatloaf
- Unique Serving Suggestions
- Open-faced sandwiches
- Egg noodles
- Roasted vegetables
- Salisbury steak
Pro tip for the best Knorr gravy recipe: Adjust the consistency based on your dish. A thicker gravy works perfectly for meatloaf, while a slightly thinner version complements vegetables and noodles.
“A great gravy can turn a simple meal into a memorable feast!” – Home Cooking Enthusiast
With just 30 minutes of total preparation time, you can create a versatile sauce that serves up to 6 people. The recipe offers approximately 378 calories per serving, making it a satisfying addition to your meal repertoire.
Flavor Customization Hints
Experiment with your Knorr gravy by adding a big pinch of MSG or toasting some coconut flakes for an unexpected twist. Each variation brings new excitement to your dining table!
Making Gravy Ahead: Time-Saving Tips
Preparing your authentic Knorr gravy recipe in advance can be a game-changer for busy home cooks. With smart planning, you can create delicious traditional Knorr gravy that saves time and maintains exceptional flavor.
“Meal prep is the secret weapon of successful home chefs!” – Culinary Expert
When making traditional Knorr gravy ahead of time, follow these essential strategies:
- Store gravy in an airtight container
- Refrigerate for up to 5 days
- Cool completely before storing
- Stir before reheating to restore consistency
Reheating your make-ahead gravy requires gentle warming. Use low heat and whisk frequently to prevent separation and maintain the authentic Knorr gravy recipe’s smooth texture.
| Storage Method | Duration | Recommended Technique |
|---|---|---|
| Refrigerator | 3-5 days | Airtight container |
| Reheating | 2-3 minutes | Low heat, constant whisking |
Pro tip: When reheating, add a splash of broth to restore the gravy’s original consistency and prevent dryness. Your make-ahead strategy ensures convenient, delicious meals without compromising quality.
Even if you don’t have every tool, you can still make a great sauce. The recipe works well with basic kitchen items you probably already have.
To make your homemade Knorr gravy truly special, you need some expert tips. The secret to a top-notch gravy is knowing the right techniques. These can turn your sauce into something amazing, just like in restaurants.
“Flavor is king in any great gravy” – Professional Chef’s Wisdom
Here are some expert tips to improve your homemade Knorr gravy:
- Maximize flavor extraction by using meat drippings
- Develop rich umami undertones with strategic ingredient selection
- Master consistent texture through precise whisking techniques
- Experiment with depth-adding ingredients like caramelized onions
Professional chefs say to get the best flavors, use what’s left in your roasting pan. Those delicious browned bits stuck to the bottom? They’re liquid gold for your gravy!
| Technique | Impact on Gravy |
|---|---|
| Deglazing Pan | Intensifies Flavor Profile |
| Slow Whisking | Prevents Lumps |
| Seasoning Layers | Builds Complex Taste |
By using these expert tips, you’ll make a homemade Knorr gravy that’s as good as any in a restaurant. Remember, the key is patience and technique!
Conclusion
Making easy gravy at home changes your cooking game. It’s all about simple steps and top-notch products. This way, you can turn any meal into a special treat.
Creating your own gravy lets you control taste, texture, and what goes into it. Your homemade gravy will taste fresher and be more tailored to your taste. Knorr’s long history shows their dedication to quality and taste.
Don’t be shy to try new things with what you’ve learned. Whether it’s for a quick dinner or a big event, your Knorr gravy will wow everyone. So, get cooking, enjoy the process, and add your own twist to this classic dish.
Let us know about your gravy-making adventures. Your stories and creative touches make cooking fun and fulfilling. Bon appétit!

